In this tutorial you will learn how to create a realistic cross stitch effect in Photoshop using a cross stitch font and custom made stitch brushes. We will also need a canvas as background for our effect. We'll use a real canvas and transform it into a tileable Photoshop pattern.

Let's start with a simple wood texture to create a wood table surface. You can use this texture or you can choose another wood texture or any other background that you want.
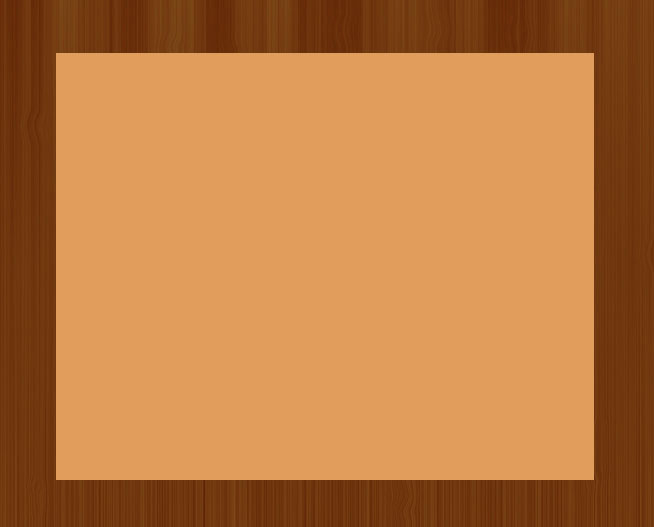
Create a rectangle using the Rectangular Marquee Tool to make and fill a selection; choose any color you want it really doesn't matter. Call this first layer Canvas Layer.
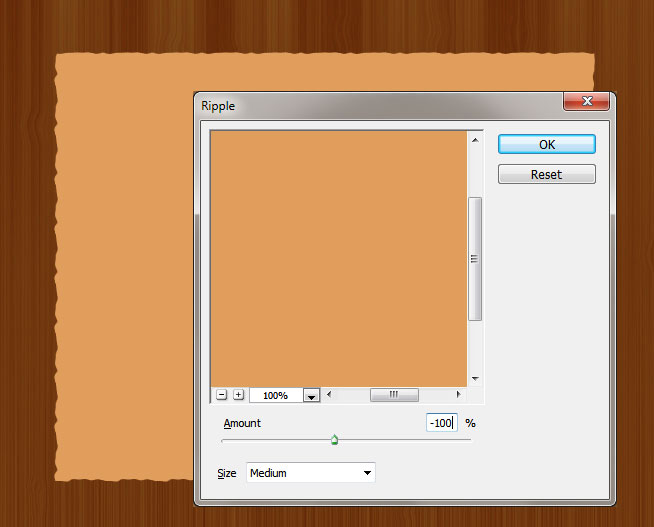
To make the edge of the canvas shape a little more wavy and realistic looking we have to apply aripple effect but make sure you keep a copy of the original rectangle layer(hide this copy), we will need it later on. Go to Filter>Distort and choose Ripple with the following settings.
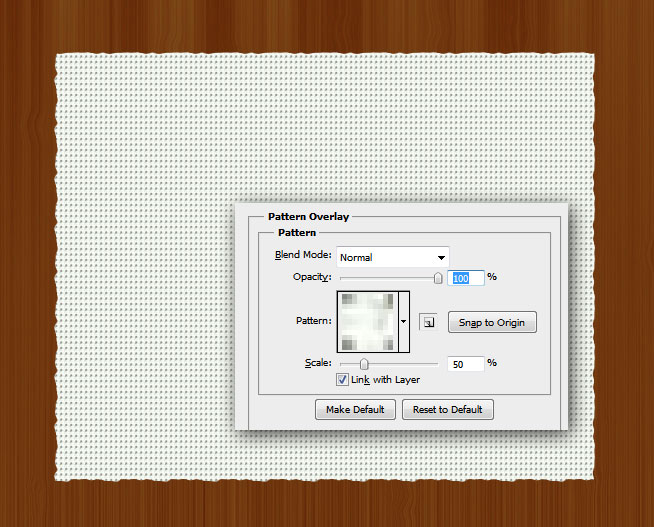
Time to add the real canvas pattern; I have used a fabric canvas to create a tileable pattern that you will find in the ZIP file attached to this tutorial.
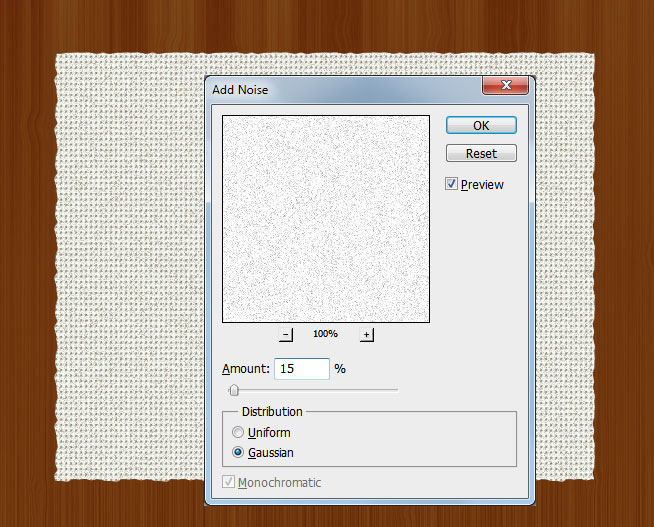
I also added a layer mask to the Canvas Layer and in this mask I used a Noise Filter. Go toFilter>Noise and choose Add Noise with the following settings.
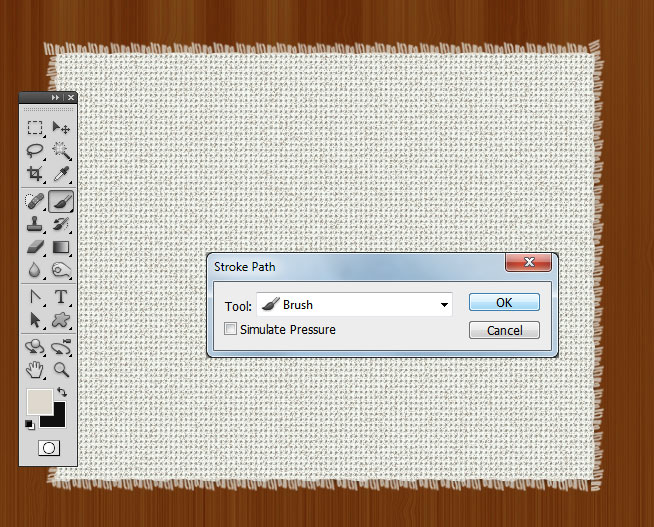
Make a selection out of the Canvas Layer without the ripple effect(use the copy that you saved). Expand the selection with around 5px, and Make a Work Path out of this selection. If you are not really sure how to use stroke path you can read these Photoshop paths tutorials.
Create a new layer and call it Threads Layer. Use the threads brush that you will find in the ZIP file toStroke Path. Pick the #ddd8cd color for the Brush Tool.
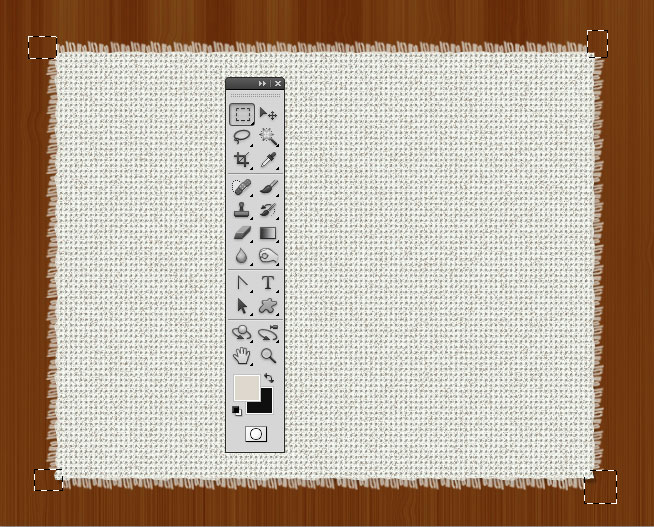
Use the Rectangular Marquee Tool to make a selection at each corner. Press SHIFT to make multiple selections. Press delete to erase the threads that are missplaced at the corners like shown in the image.
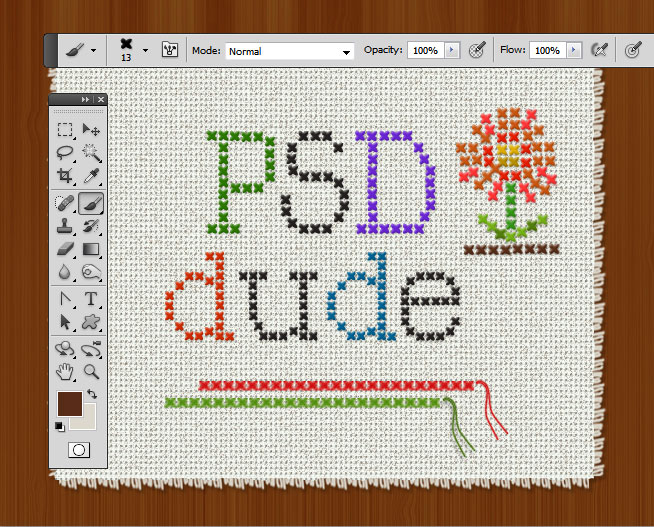
Now let's add a cross stitch text using this cross stitch free font. Simply download the font and install the font in Photoshop. Write a text that you want.
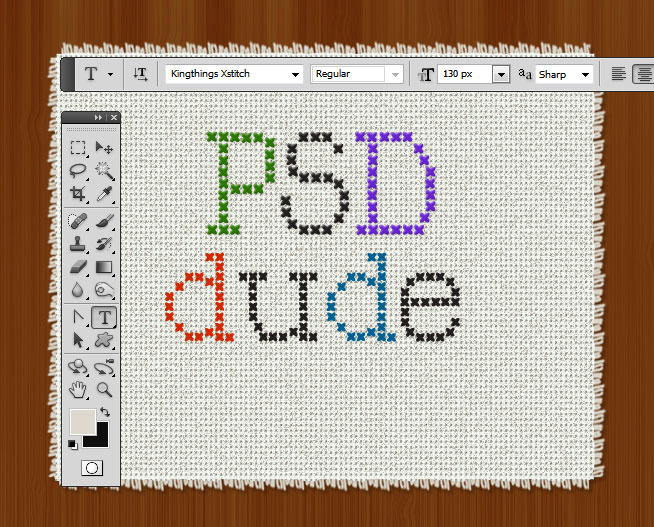
To make the cross stitch effect look more realistic you can add a simple Drop Shadow and Bevel and Emboss layer styles.
This effect is perfect for text letters and numbers, but if we want to draw something we'll have to use another technique. So I have used the cross stitch free font to create a custom made cross stitch brush that you will find in the same ZIP file.
If you want to learn how to make your own custom brushes using the Brush Pannel options such asBrush Spacing for example, check out these mazing Brush Photoshop tutorials for beginners.
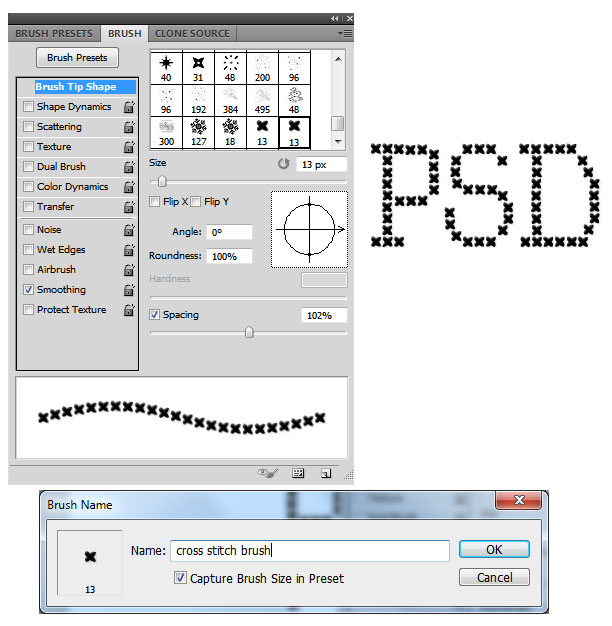
Pick the new created cross stitch brush and with different colors you can add simple lines or even draw more complicated shapes.
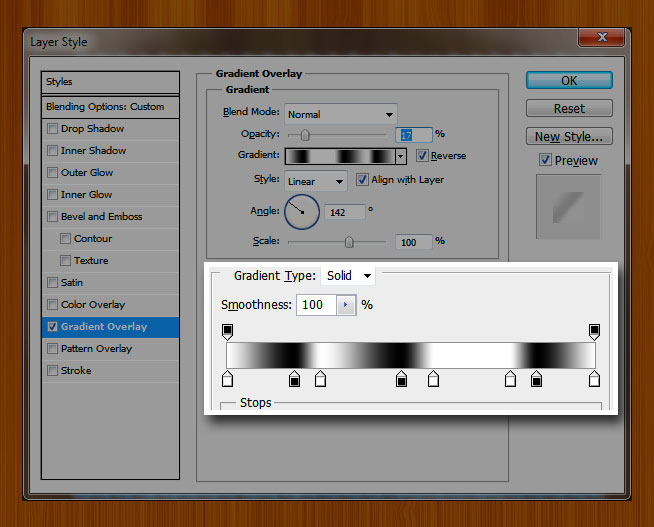
As a final touch I have duplicated the Canvas Layer and place it above all the other layers. Reduce theFill to 0% and add a Gradient Overlay like shown in the image. That way will create a beautiful fabric folds effect.
Here is the final result for the cross stitch Photoshop effect. You can try and combine this effect with some stitch brushes to create unique stitching effects.
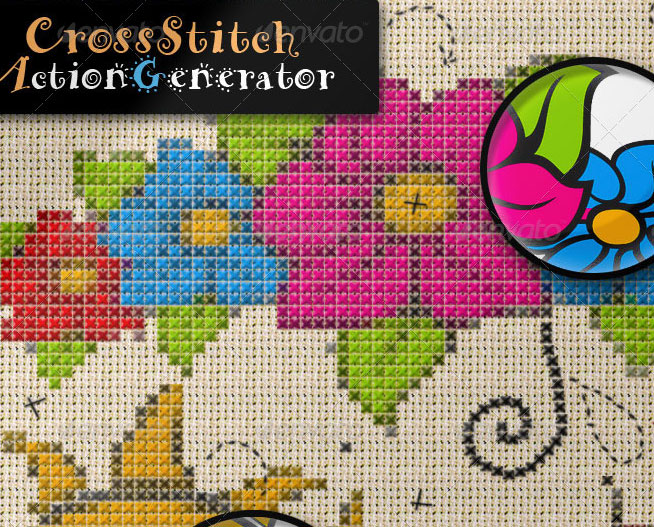
This method is rather slow and it works best only for text but if you want to turn any image into a cross stitch is a very hard task. So you might want to try my cross stitch action generator(4$).
0 Komentar
Penulisan markup di komentar